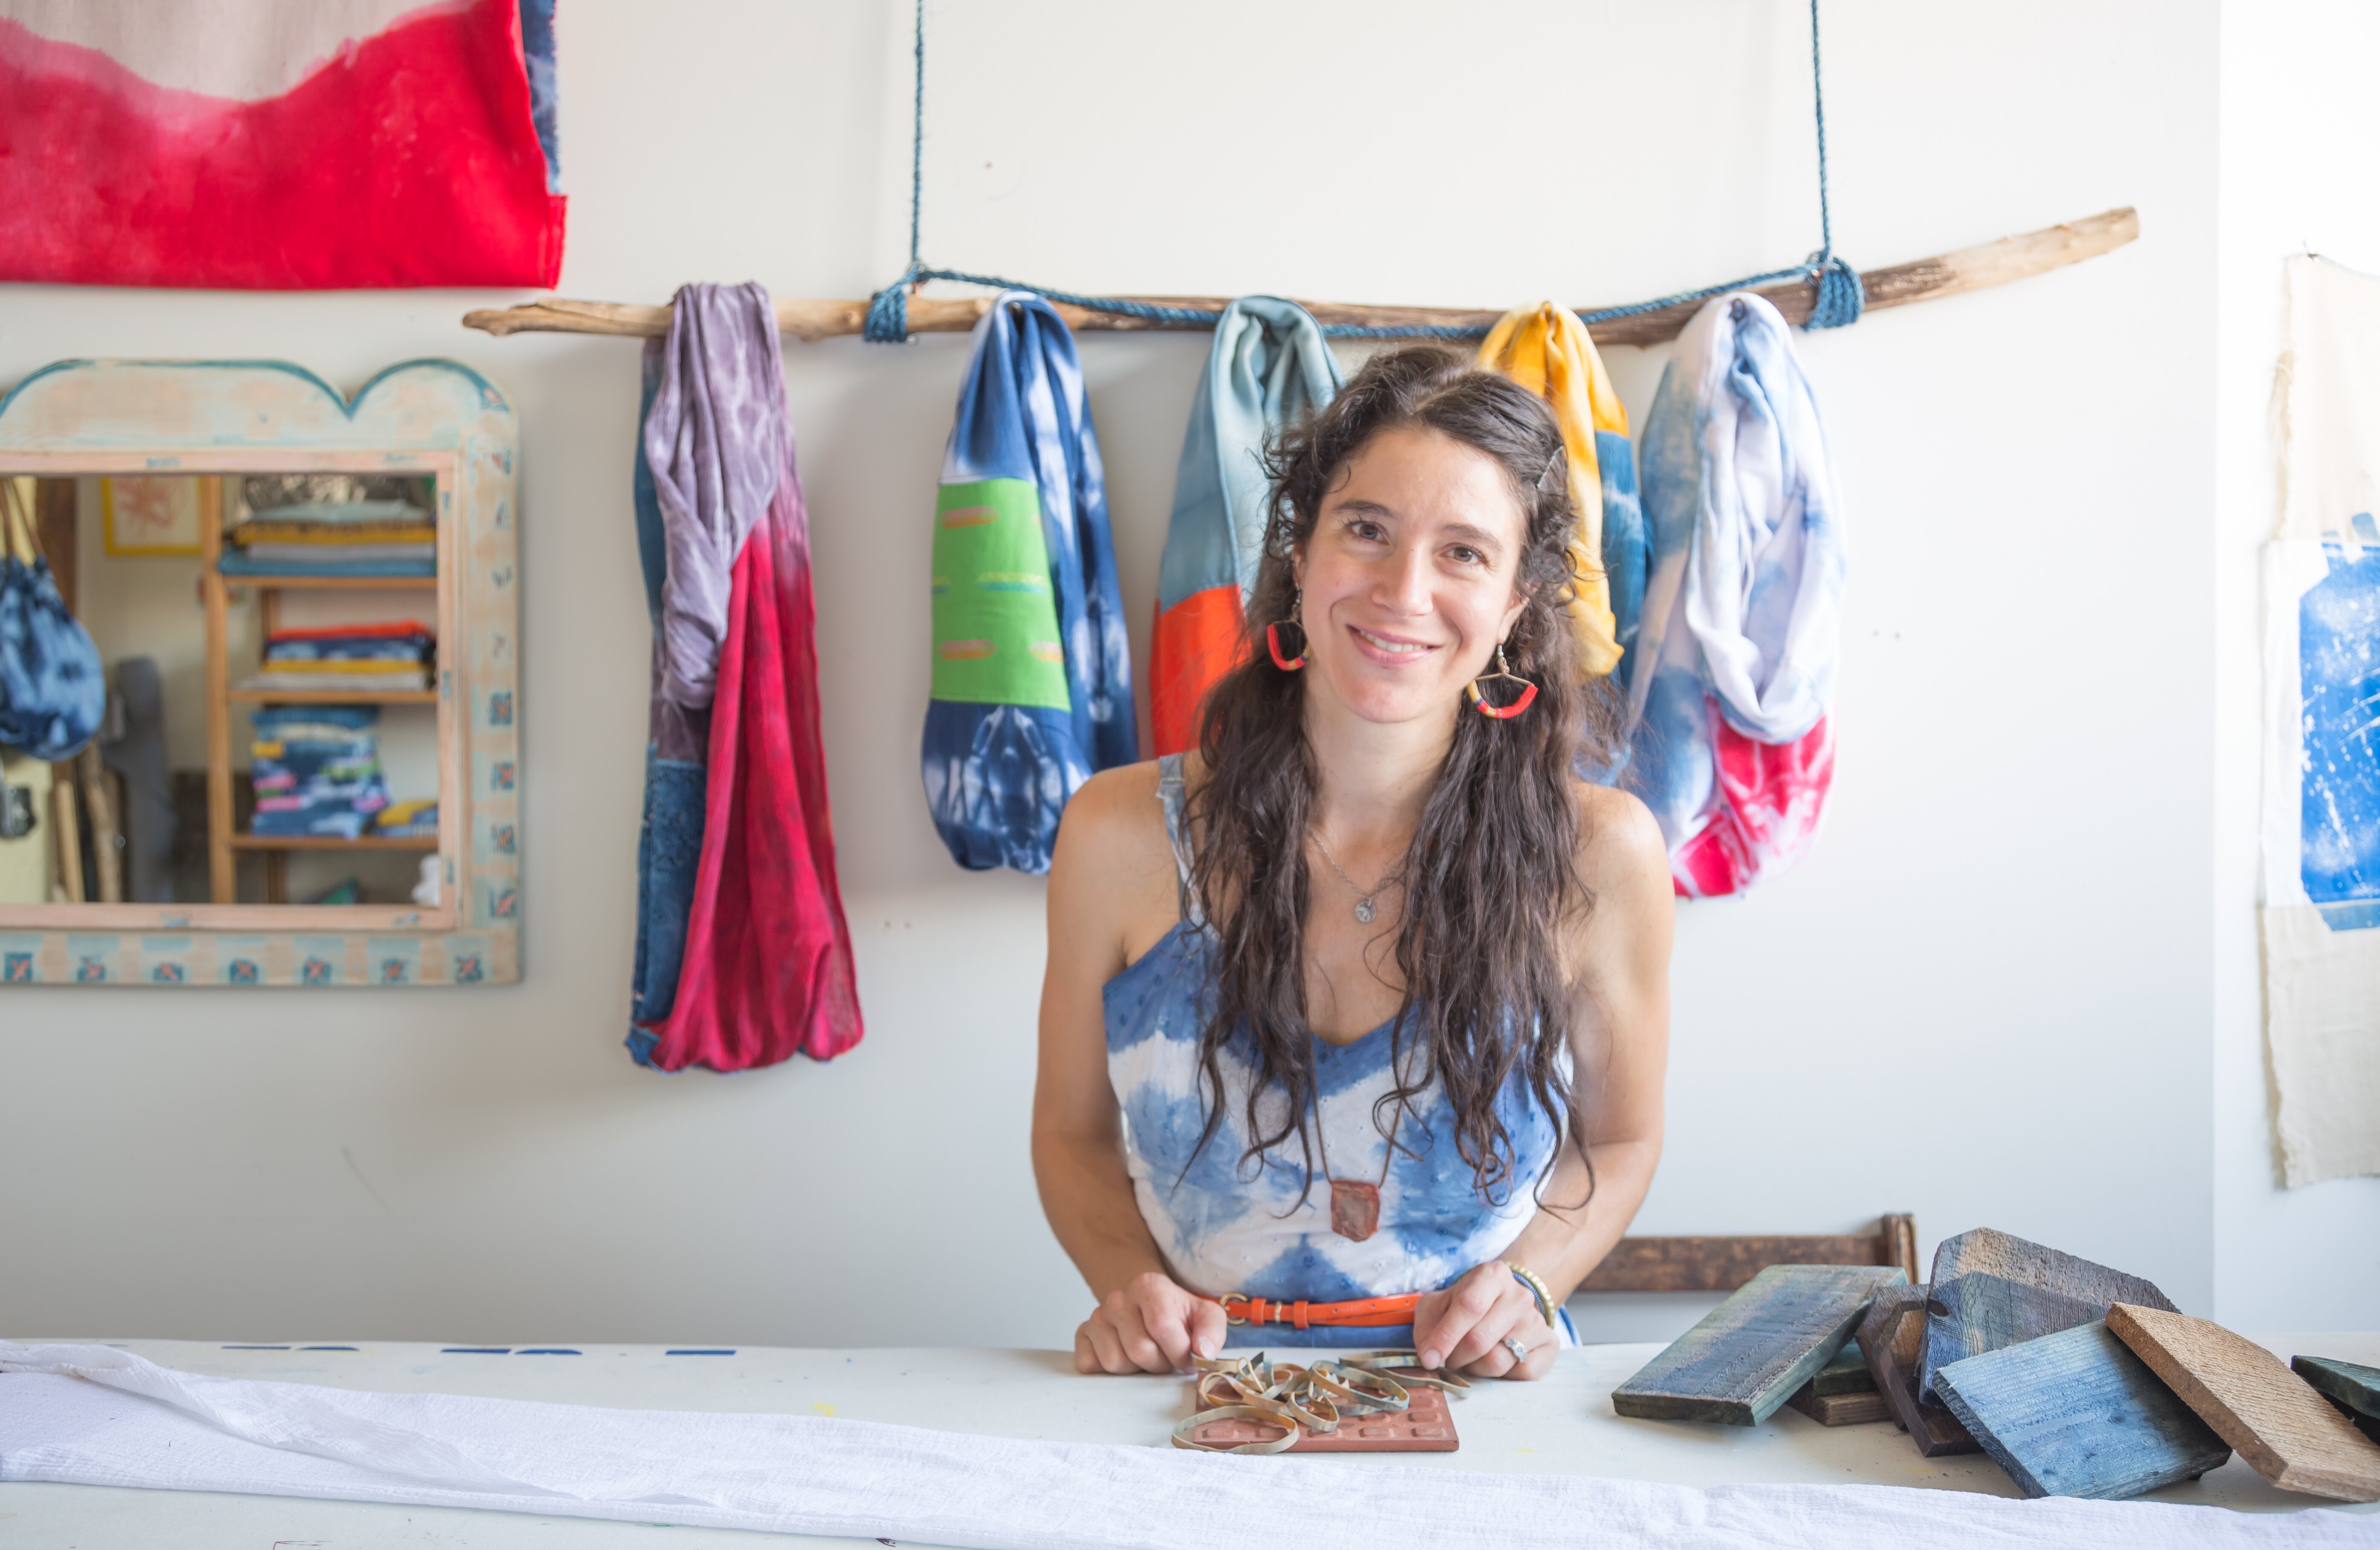
Annabella Sardelis of Indigo & Snow is an inspiration. In the past few years, she left her day job to pursue textile design full-time and has produced three unique design collections, all while being a full-time mom to two young kids. Her eye for color is lush, juicy. Drawing inspiration from her travels and intuition, her textiles are fluid and alive.
I’d been admiring Annabella’s work on for awhile, so when she reached out to me to see if I’d be interested in collaborating on a giveaway, I immediately said yes. Which brings me to… A GIVEAWAY! We are jointly hosting our on Instagram this weekend in honor of the rising dark moon in Sagittarius. We are offering one of Annabella’s hand-dyed eye pillows filled with organic buckwheat, lavender and rose petals, dyed with a white moon on a dark blue background, as well as my very last tin of summer solstice herbal salve. As the light continues to wane and we draw increasingly inward, we are honored to provide the tools to others to nurture and care for themselves during this cold season. Check out to enter – deadline is Sunday, 6 pm EST!
I’m so happy to share this interview with Annabella – it might be one of my all-time favorites. Be sure to follow her on Instagram at , and find more from Annabella on her website and her online shop. Enjoy!
How were you first introduced to textile arts (and shibori in particular), and how did you know this was something you wanted to pursue?
Growing up, I was very tomboyish, still am, and quite counter-cultural. I followed the Grateful Dead in my teens and made my own dresses and whatnot back then. After graduating from college, I backpacked around Europe for several months with my best friend. I recall vividly, especially in Spain, seeing boutiques of exquisitely designed clothing and in the back of the shop would be the designer creating the work. I would go in and be mesmerized by this world that was highly curated and felt magical.
It wasn’t until I went to Europe that I fell in love with fashion in a big way. In Paris, going into Chanel, Prada, Dolce & Gabbana, taking out my notebook and sketching – I felt so inspired. I first began collecting textiles while traveling in Tanzania, and it was there that I fell in love with textiles – the rich colors and patterns really resonated with me. I was first introduced to shibori in Japan thirteen years ago. I didn’t even know what indigo was at the time or that what I was buying was “shibori.” I was just drawn to the color and the design.
I am fortunate to live in a city that has an amazing textile center. Every year Minneapolis has an annual rummage sale that benefits the Textile Center of Minnesota, where estates of textiles are donated or interior designers will donate samples. I began collecting textiles there in my early twenties, not knowing what I would do with them, just that they spoke to me.
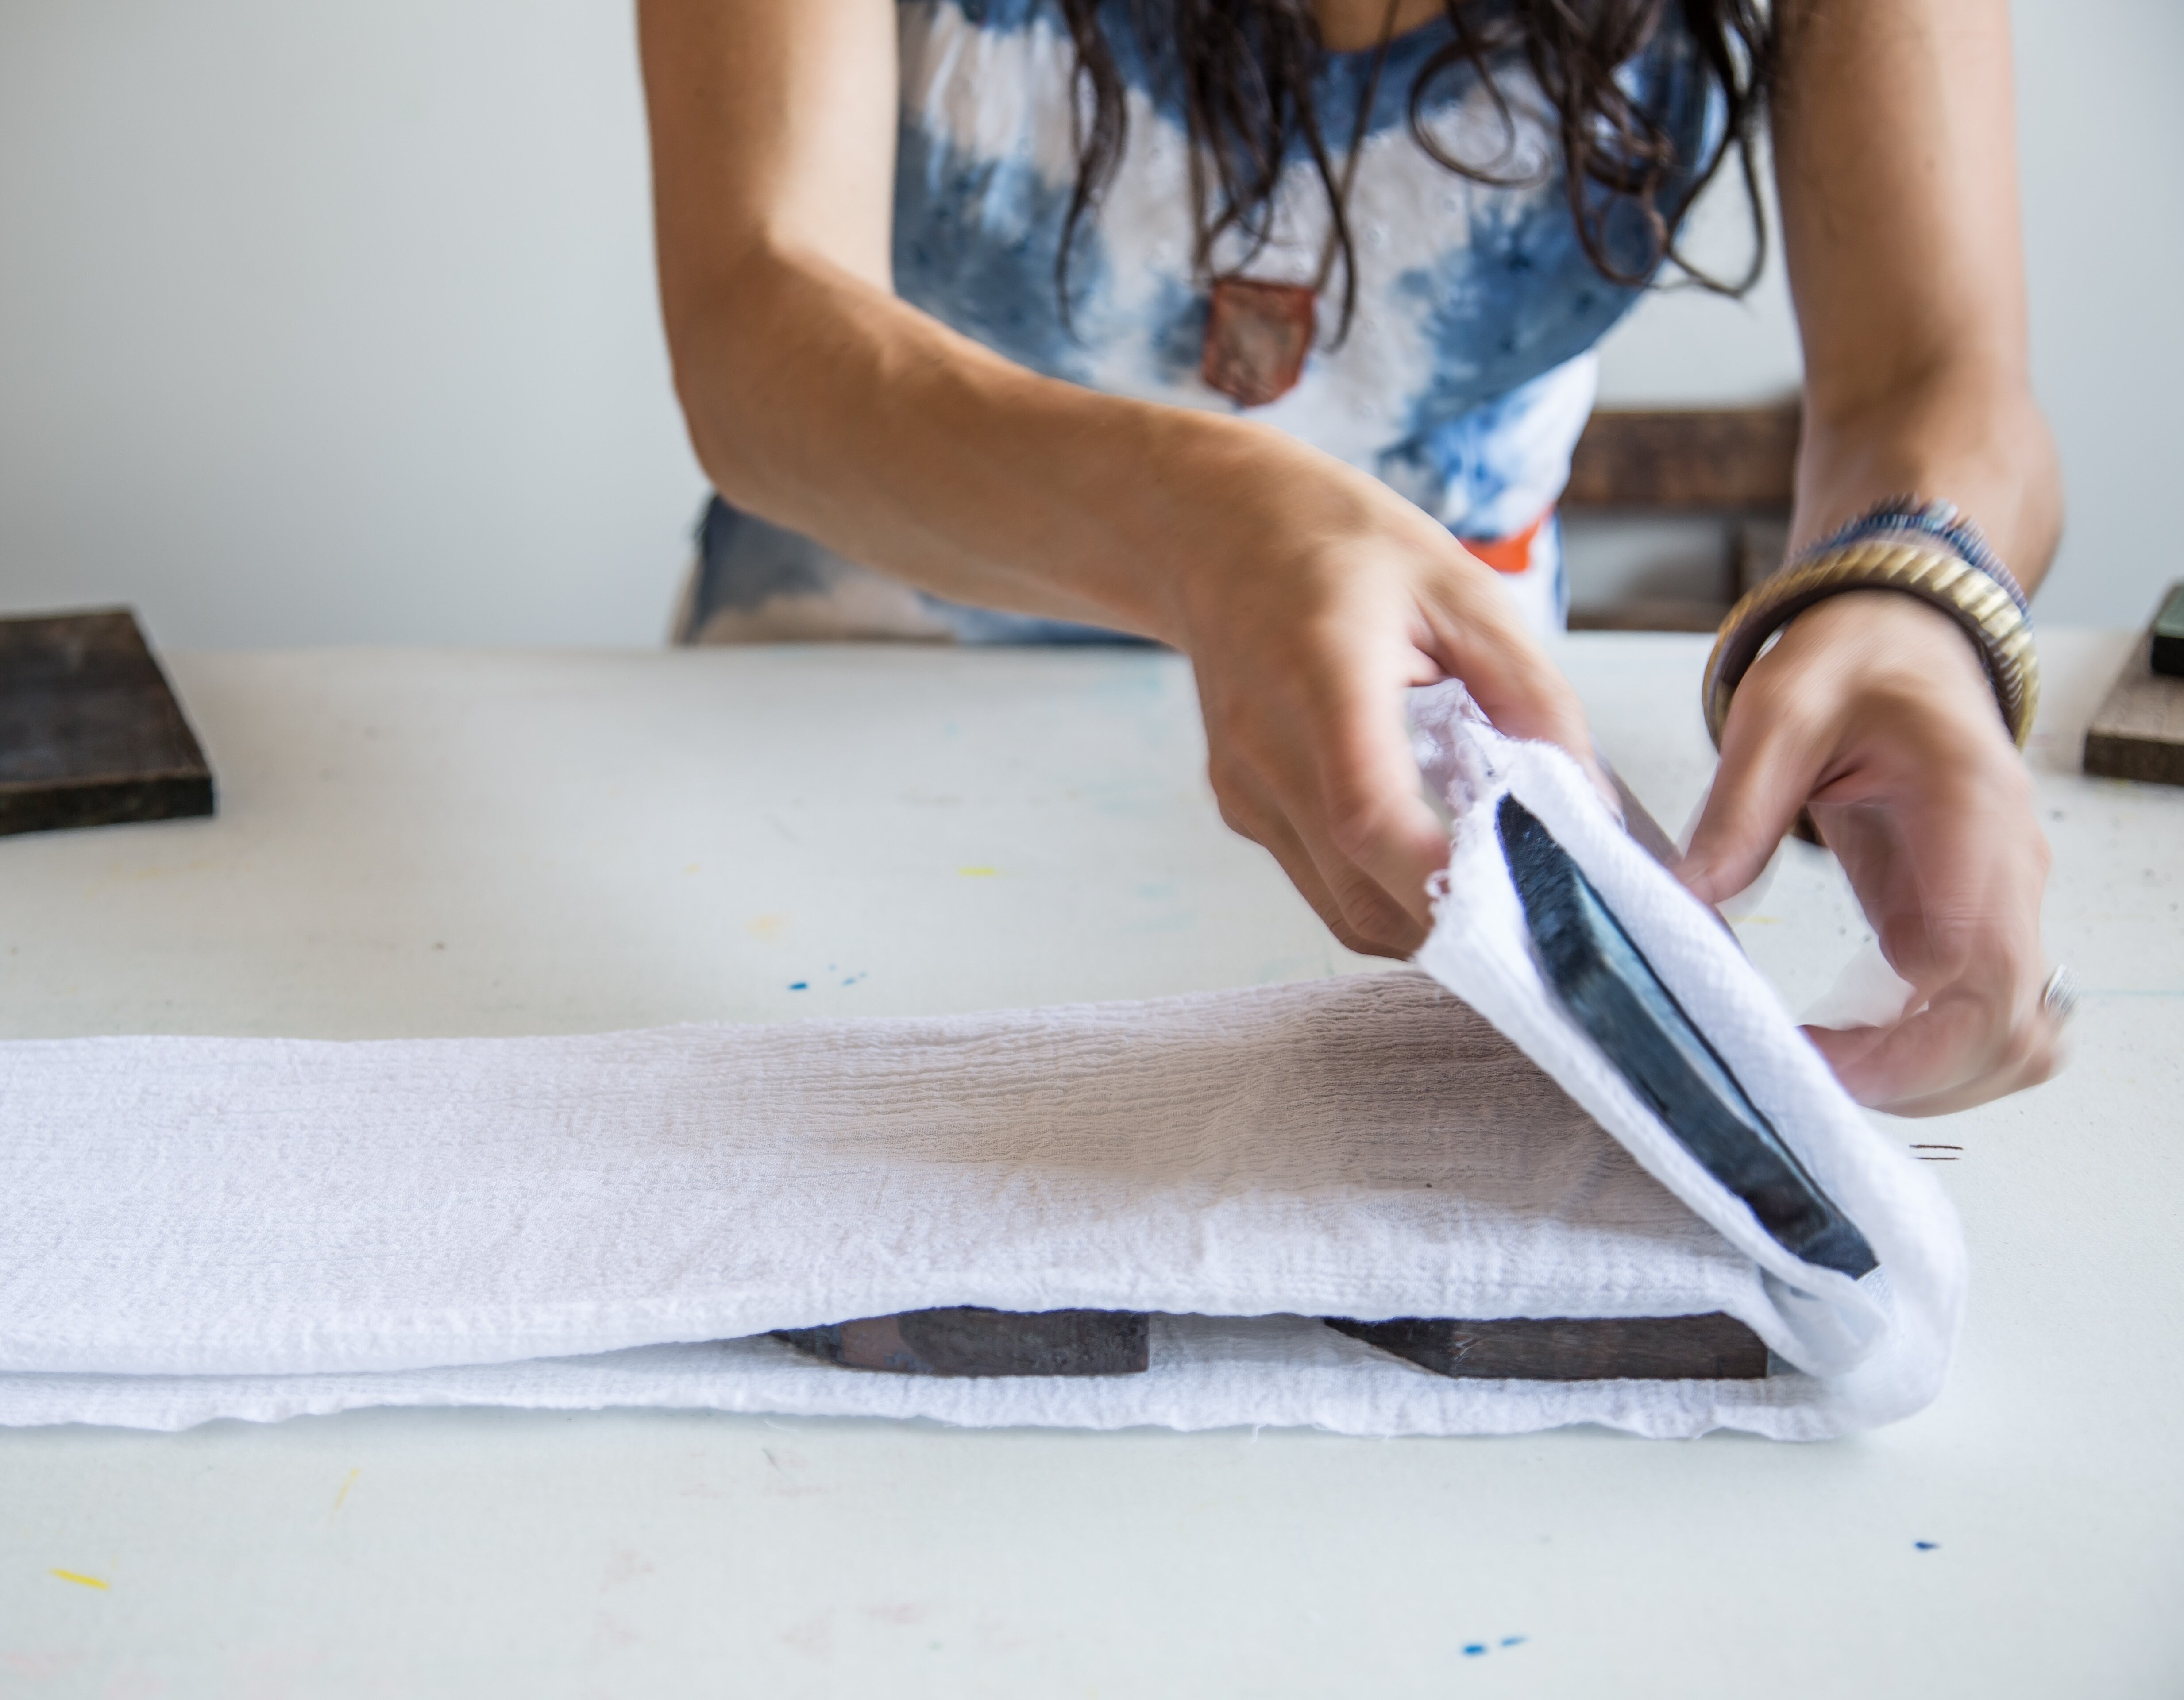
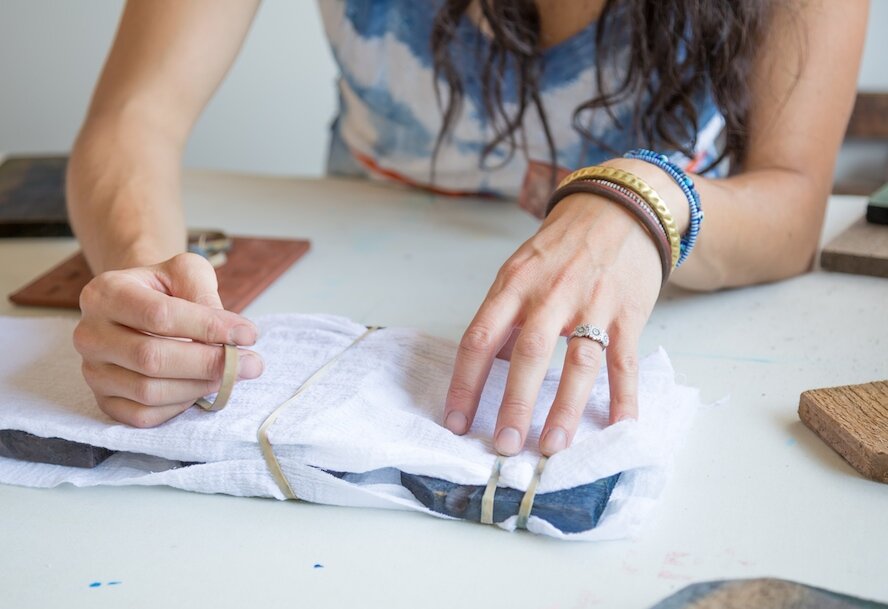
I first approached textiles as a printmaker; I studied printmaking in college. Around eight years ago, I transitioned from printing on paper to printing on fabric. The whole shibori thing has been much more recent. In the autumn of 2012, we had plans to go to a St. Vincent/David Byrne concert and I decided I wanted to create a fun ensemble for the evening. I decided to be experimental and found a DIY online tutorial on how to do bleach shibori. I grabbed an old Anthropologie maxi-dress (I loved the cotton gauze fabric, but was not attached to the color), some leggings, a denim jacket and a few shirts and began my first shibori experiment. I remember vividly as I hung the garments to dry on our clothesline. The experience felt magical, transformative, fluid and spontaneous. It felt like everything printmaking isn’t for me. I knew that day was a game changer. However, I was nursing our infant at the time and even though I used Seventh Generation non-chlorine bleach, dyed everything outside, and was very careful about my process so there was no skin contact with the chemical, the odor lingered on me and Rowan, our son, refused to nurse the rest of that day. At the time that was difficult and signaled to me that I could explore this further when I was no longer nursing.
I had a studio in the NE Arts District of Minneapolis at the time and a fellow artist friend across the hall, Liza Sylvestre, shot me an email in December of 2012 saying – hey, would you want to dye some leggings? I responded, yes I’d love to, but that I couldn’t use bleach. Not a problem, Liza had an inventory of dye supplies. In January of 2013 we dyed our first batch of cotton gauze scarves using a cobalt dye. The photo that I think of as the iconic INDIGO & SNOW photo (the two of us holding scarves, side by side) were two of the first scarves we/I ever dyed.
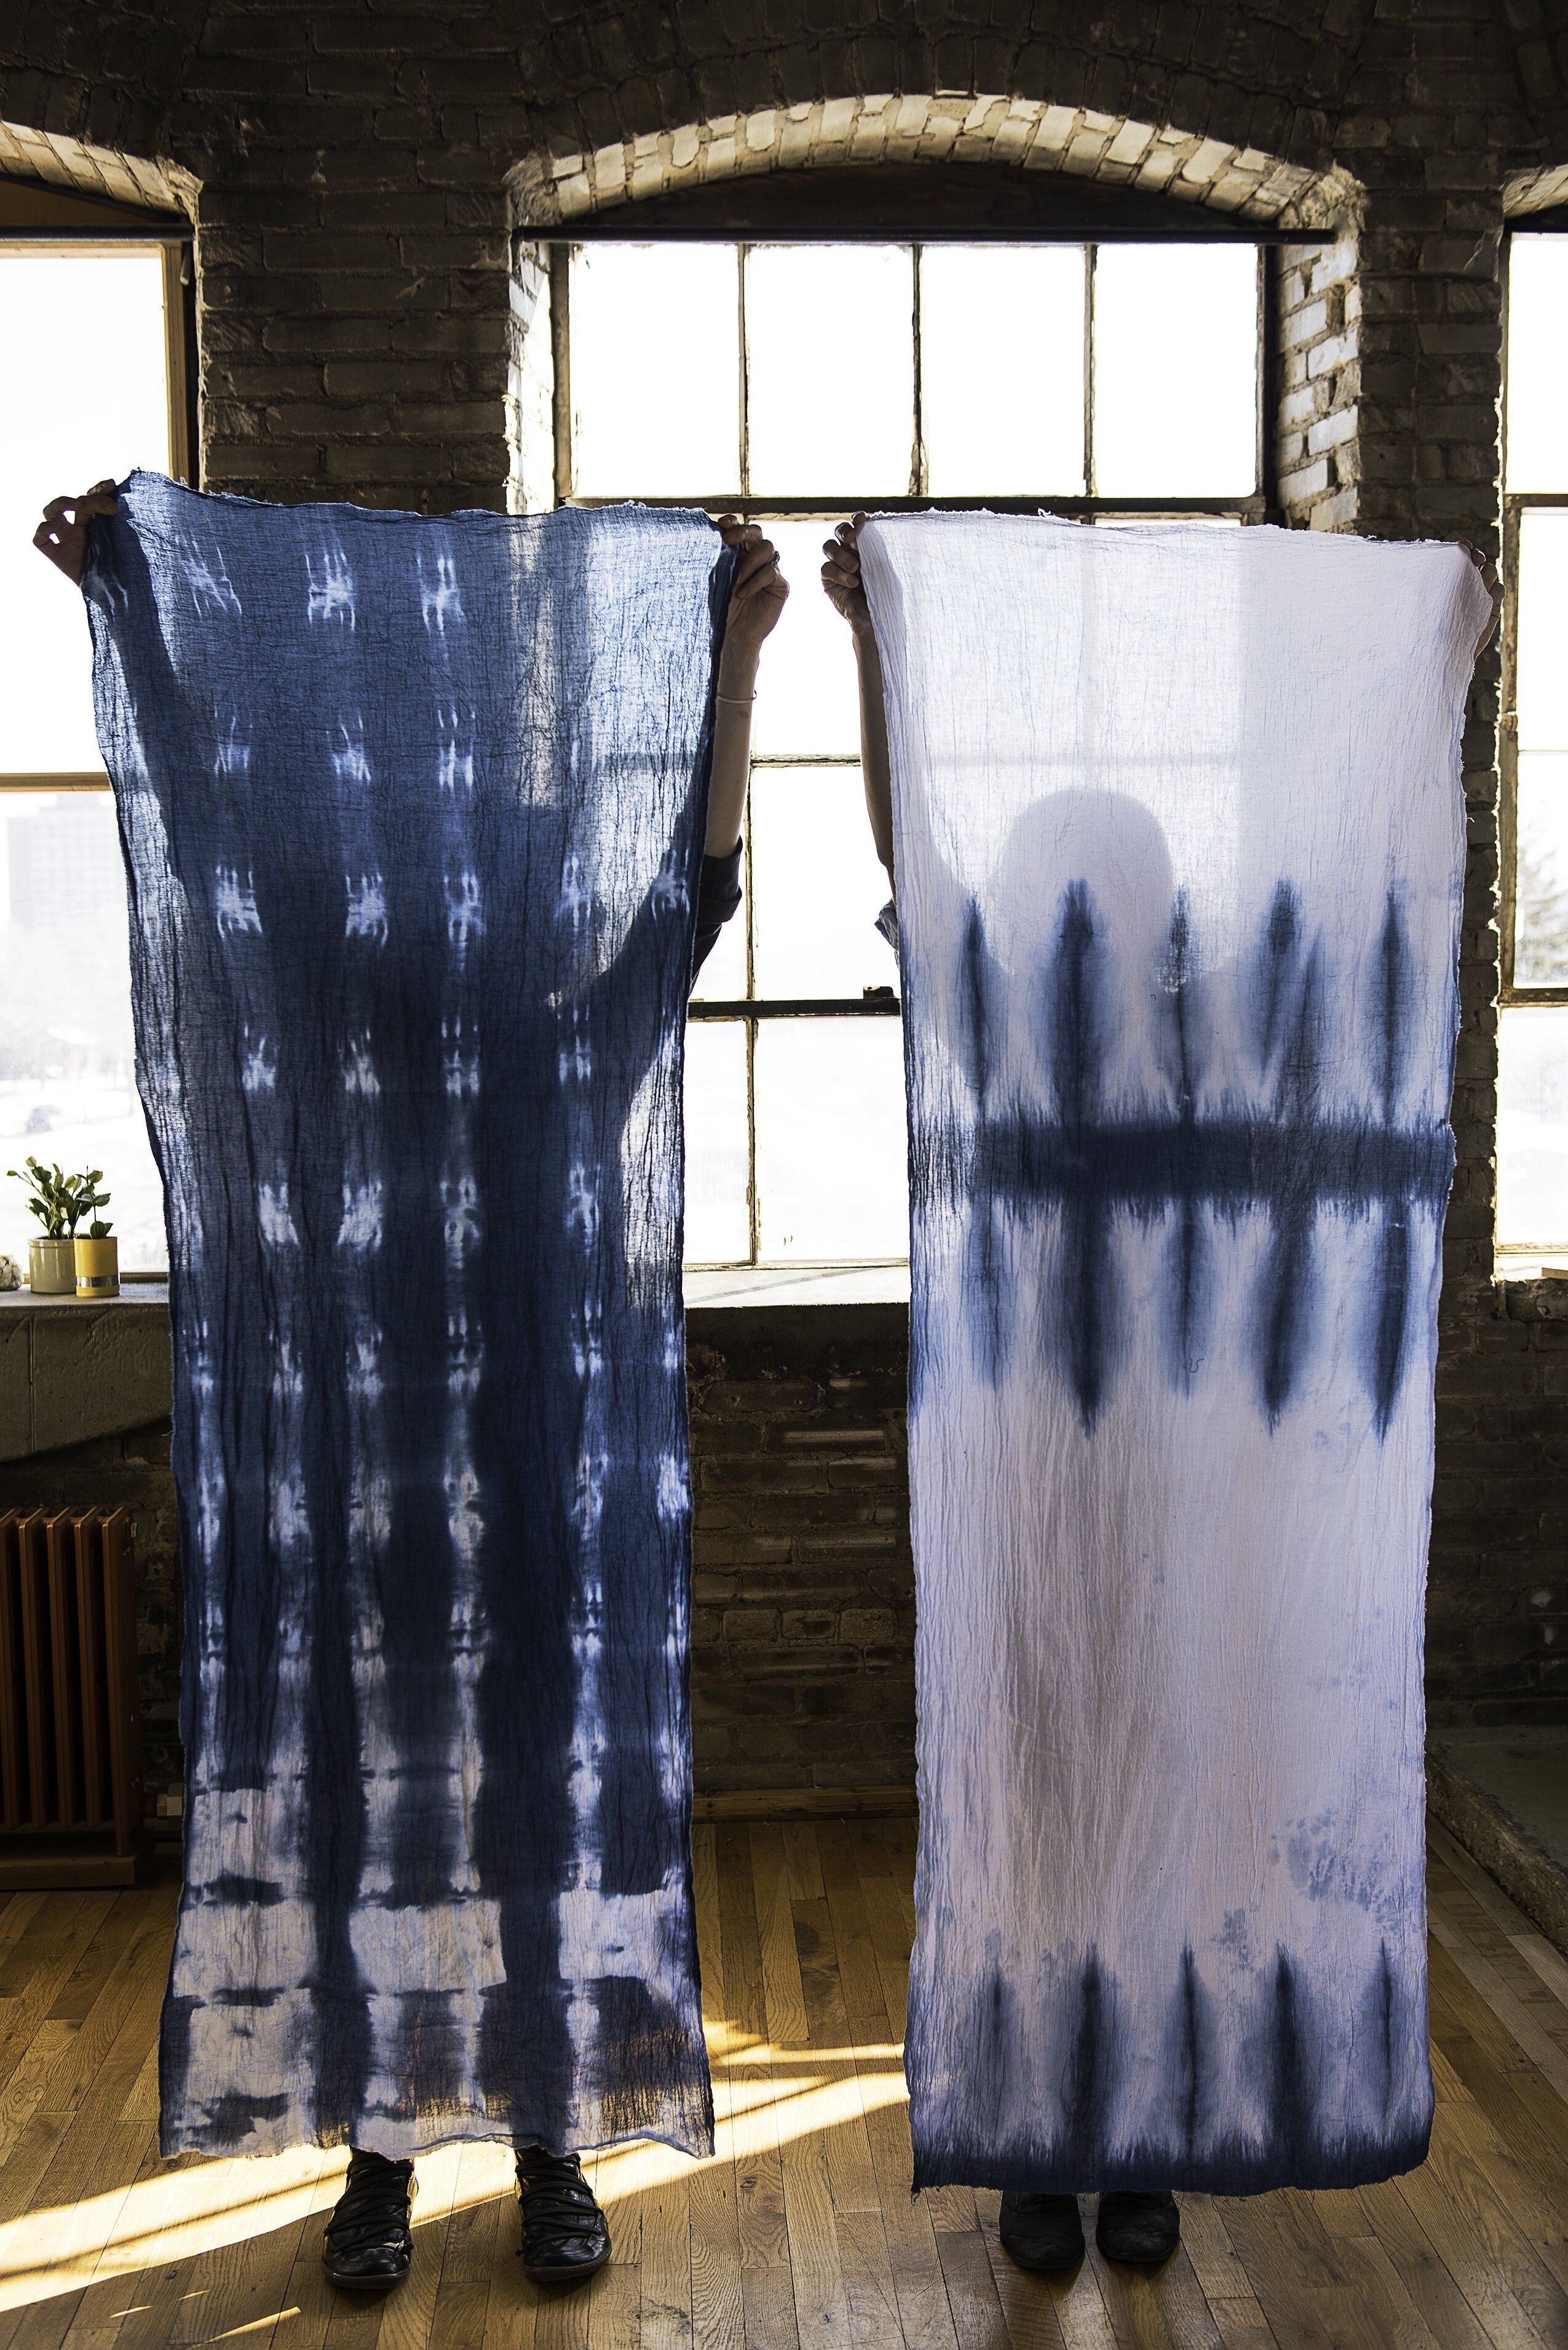
Photo by Stefan Iwaskewycz
We were instantly hooked and started dyeing like crazy. The first day we were going to explore indigo together, we had a snowstorm and I used “Indigo & Snow” in the subject line in an email to her. Later, I casually suggested that that could be a good name for our line/label. INDIGO & SNOW began to take over our lives, but Liza needed to focus on her fine art, which she was neglecting. She stepped away from the collaboration in the beginning of June 2013. Initially it was hard for me to remain grounded because the project began as a collaboration, and I had never planned on embarking on this journey independently as a designer.
I knew I wanted to pursue textiles, or at least further explore this medium, while working as an Arts Administrator for a dance company and school. I was doing all this administrative work to support the Artistic Director of this company, but there was a voice inside that said, You could do this for yourself. Rather than put all of this energy into another artist’s vision, I can support my own vision. My husband fully supported my transition to becoming a textile designer on a lot levels – emotionally and financially – and he is my biggest cheerleader so that I can make my dream of becoming a textile designer a reality.
What does your creative process look like?
I am very disciplined about my process. I have two young children, ages 2 and 8. So when I work, I need to be very focused about my goals for the day, week, month, year. I wake up early, before the rest of my family, so I can pack my son’s lunch, have his backpack ready, drink my coffee and be in my studio by 6:30 a.m. Every day is different, but I begin each day by briefly journaling and creating the day’s to-do list. I am REALLY into lists, especially crossing action items off. I review past lists to make sure I am not forgetting something that is timely, and then I jump in.
On a lot of levels my creative process revolves around my commissions and orders. If I have a big commission, that takes my full attention until it’s completed, especially if there’s a tight deadline. When I am shipping orders, I put a lot of intention into how I package my work because that’s the creative outlet in that part of the process. Some days I am dyeing most of the day. I wish I had time to do more of that – it’s the most magical part of my creative process.
What are the strengths and challenges of your personal studio space?
I moved my studio into my home in January 2014. It was one of the best decisions I have ever made on a lot of levels – I no longer felt like I was wasting so much of my day driving. I used to have my studio in the NE Arts District of Minneapolis and the daily commute drove me bonkers.
One challenge of my current studio is space. Even though I currently have more studio space than I have ever had, I wish I had a studio at least twice this size. If you could see me, I am bursting at the seams for more space, especially this time of year. I suppose another challenge is client meetings. Because my studio is in my home, I am less inclined to schedule studio visits with clients because it is so much more personal to have someone come into your home, especially when you have kids.
Which artists have inspired your work in some way?
Redon, Chagall, Eva Hesse, Vera Neumann, Marimekko, Lotta Jansdottier, Orla Kiely, Lisa Congdon, Nikki McClure, Rebecca Burgess, Ambatalia. I grew up in museums so it’s challenging for me to make internal distinctions: who has inspired my work, versus who do I find inspiring. Lisa Congdon has been a huge inspirational force for me. She is a successful illustrator who is very affirming in her creative messages – I have one of her prints in my studio that says, “Do what you love, make who you are.”
What are you working on now, and what’s next?
I’m excited to teach a Handmade for the Holidays workshop in a couple weeks. Right now, it’s all about the holidays and creating pieces that make ideal gifts. Back in the spring I was working on fold-over clutch prototypes thinking I was going to debut that for my A/W collection. However, as the holidays drew closer, this voice inside said:
No, women don’t need another clutch this season. What people NEED is to take some time to relax, go inside themselves, feel that vibrant life force energy, take some time and space to let go of everything except for the sweet rhythm of their own breath.
(Of course, I am talking to myself here as well, telling myself to take my own best advice.)
As for what’s next: I am really excited for 2015. I have decided it’s the year of foraging. At this stage in my career as an artist and designer I want to integrate my printmaking with the world of creating natural dyes. Specifically, I want to see what Minnesota looks like visually through plants. I have been foraging for plants native to Minnesota with my husband, a trained herbalist, for a decade. I plan to make dyes out of bark, roots, leaves, berries and flowers that are native to Minnesota that I have foraged. Before I begin the dyeing process, I will render the plants in India ink drawings and create woodcuts of them. I plan to create my first calendar, “A Year in Foraging,” and have secured a solo show in Minneapolis to exhibit my “Foraging” pieces. I have several commissions and collaborations that I am excited to embark on in 2015 and there is a book project in the works too.
All photos, unless otherwise noted, are by Melissa Berg and used with her permission.